Organise your classes with Notion!
So last time we started to organise our students with Notion in a very simple, but effective way. Today we want to go one step further and create a publicly available class website. In other words: We want to organise our classes with Notion. On it, you can put forward information about your class for your students. We will link to relevant class material, offer a class schedule for the students and some additional information. Let’s get started.
We already created a view for our class with a list of students and their grades. This page is of course only for you and should not be visible for your students due to data privacy. To begin, we want to create a new page by clicking the little plus sign at the appropriate spot in your list on the left. A new page appears and we can give it a name. We can call it for example “SoSe 21: 3D modelling and reconstruction in Archaeology“. We now have a fresh page to start from, so let’s think about, what we actually want to offer here.
What I need
This website should function as a hub to offer my students all the information they need. You can already have a look at the finished page here (I made a copy and removed some links due to university restrictions). I don’t know about you, but there are a couple of questions I get asked a lot. By creating this landing page, I can already answer the most common ones. I also want to reuse that page for the same class at a later point, because I will give this class regularly. Additionally, I want to offer a section with actual announcements or due dates, which is always very confusing for some. Finally, I want to offer a course schedule with dates and content. This way, students know what will await them and what exercises they have to do for certain classes.
How to set it up
So before we begin, I start up with adding an icon and a banner at the top of the page. This is solely to make it look more fitting. I choose the teacher icon and a 3D rendering, as the class is about 3D modelling and reconstruction.
The introduction
The page should start with an introduction, so newer students know why this page exists and how to use it. I simply write something about “Welcome” and what we are going to do this semester. Additionally, I offer some first links that I find useful. I create a second block with information about the software we are using. As during the pandemic the students have to download and install the software on their own computers, I offer them a link to the website. I also remind them, to install the software before the first class starts.
Additionally, I utilise the background colour function by clicking the six little dots besides the block. I am choosing a red background colour for better visibility. At last, I move the second block to the right side of the first block. I do this to make it look more compact. Again, I click and then drag the six little dots of the second block to the right. This article is all about how to organise your classes with Notion, so organisation is the key!

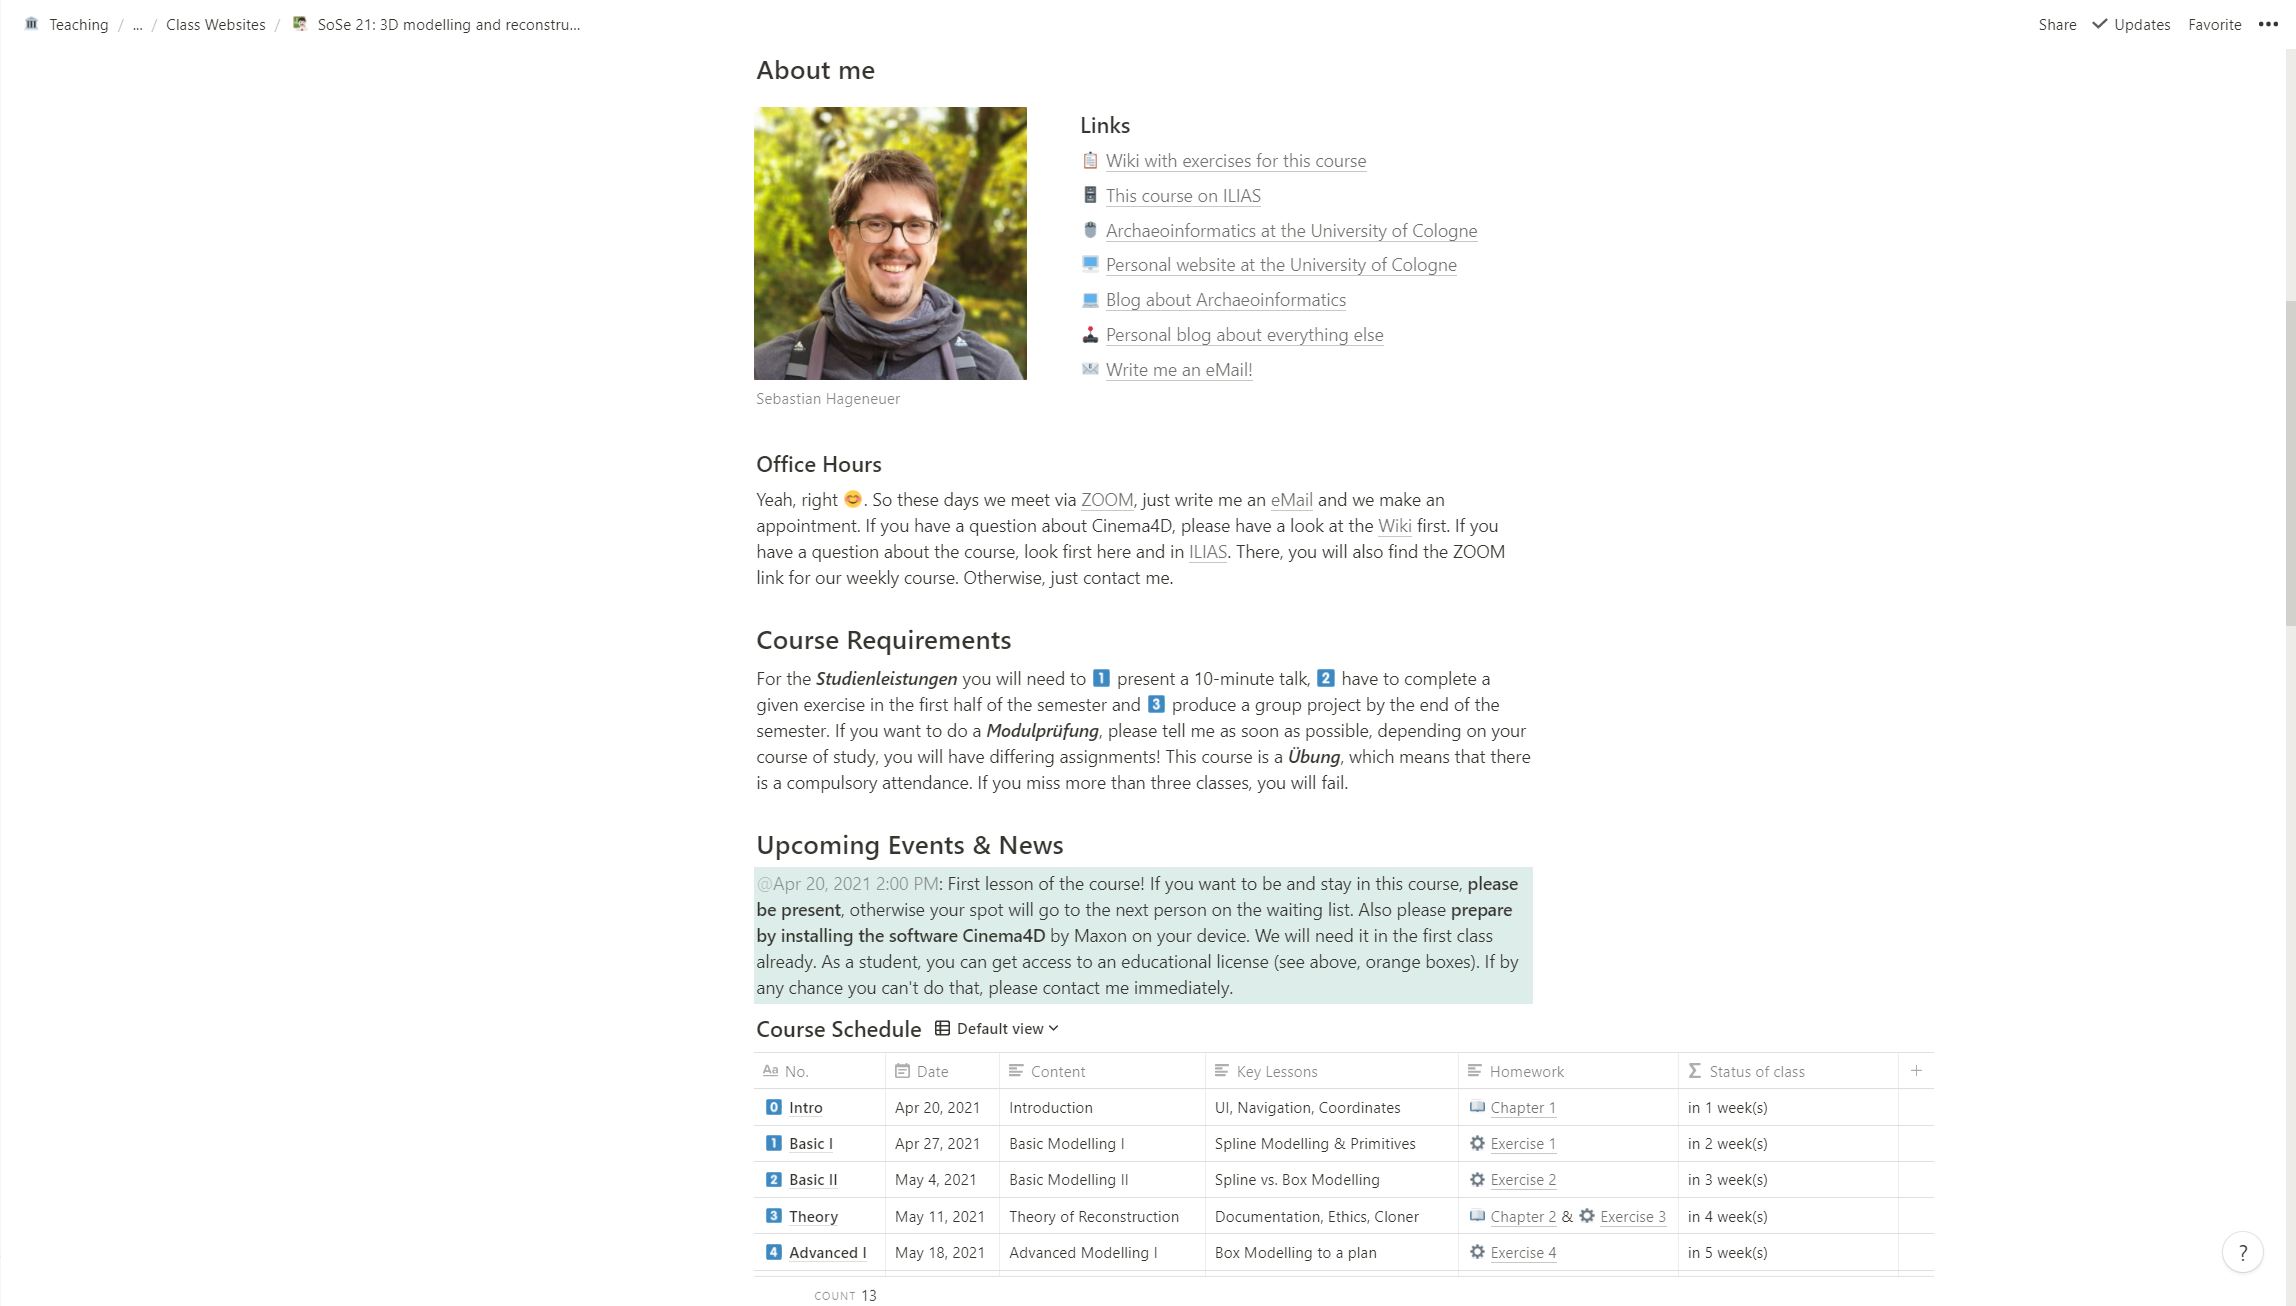
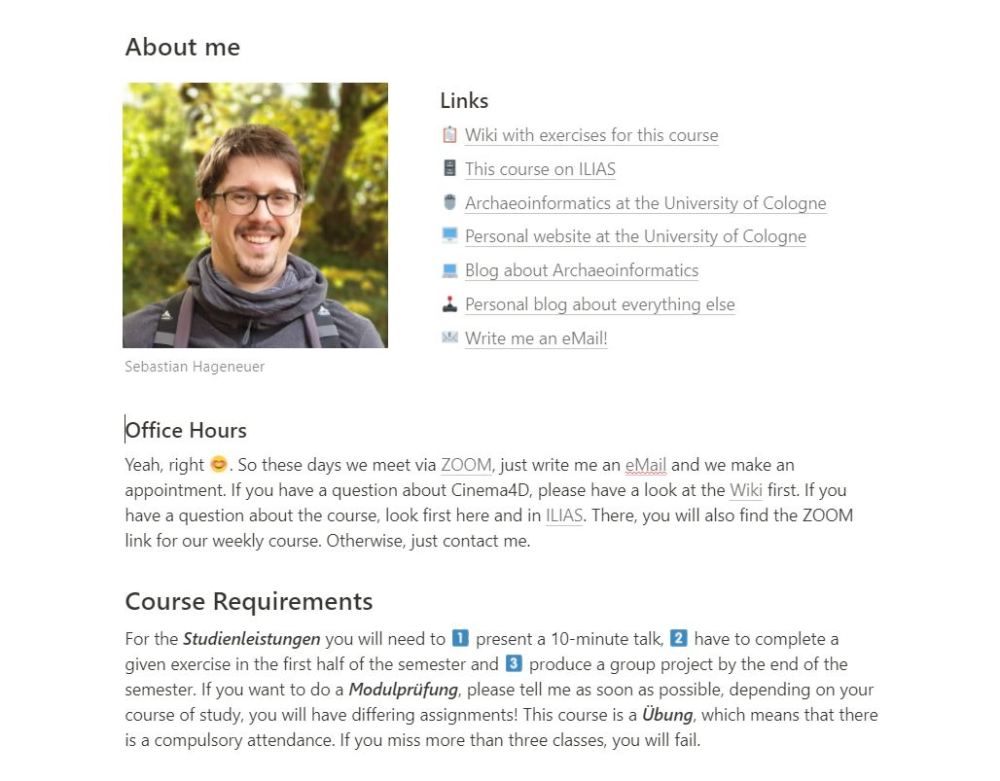
About me
I then create a new part below where I want to introduce myself as the teacher. I also offer relevant links as well answer some of the most pressing questions. So I start by creating a headline “About me” and adding a picture of myself below. I can easily add a picture by entering “/image” in the new block and then upload one. Then I create a new headline called “Links“. I also add some links to it by writing the link text first, then highlighting it and then clicking on “Link” in the floating menu. By adding the URL into the field and pressing the “Link to webpage” button, the link is created. After I added links to associated sites and pages with relevant information, I again move everything to the right side of my picture to make it look decent.
Below, I add a headline and block about my office hours and the course requirements. These two topics are the most frequent ones asked, so I do hope by putting them there, students will find it easier to answer these questions by themselves.
Upcoming Events & News
Here, I simply want to mimic a news-section kind of behaviour. I simply want to draw attention to that part, so I will give it a different background colour. Additionally, I will utilise the “/date” function to start it off with and to make it look more like a real news section. I could easily just write the date by myself, but I kind of like the look of this. As the course will progress, I will add new information on top and give it again the green background-colour, while old news will move down and get a greyish background-colour.

Course Schedule
Now here it gets a bit more interesting. Like in the previous lesson, I want to utilise the “/table” function to create an inline database. This way, I can organise the individual classes in Notion way better. I think this is quiet well-arranged and we will also have some fun with formulas later on. So create a table below your last block and start naming the columns. The names of my columns are: No., Date, Content, Key Lessons, Homework and Status of class. Let’s go though them. So the first column is again the index column, so it needs to be a text. I simply added some number emojis and short titles for each class during the semester. The second column is obviously a date data-type and contains the exact date of each class. As due to holidays some classes will be cancelled, not every week will be present here.
The third column gives a very very short hint about what the class is about. Now, I fairly plan my classes in advance and especially with recurring classes, this gets easier over time. Nevertheless, each group of students is different, so I do not want to go too much into detail what we will be doing. The same goes for the fourth column, which simply summarizes what the students will learn in each class. The fifth column is for homework. This is a column that also can be filled later, but as I have done this class several times, I already know which homework will be due when. These exercises and chapters in this column are on another website, a wiki, although I could easily implement them here in Notion too.

The last column is not really necessary, but I like playing around with formulas in Notion. I want to create an automated status column, which tells me how long until the class will take place and also when the class is in the past. If we want to organise our classes with Notion, we try to automate as much as possible.
Formula just for fun
So the last column should be fun. This is what is should do: If the class is more than 1 week in the future, it should show me the amount of weeks until this class. If the class is somewhere next week, it should show me the amount of days until this class. If the class is on the same day, it should also make me aware of that and finally if the class is in the past, I want to be able to see that too. So here is formula:
if(prop("Date") > now(), if(dateBetween(prop("Date"), now(), "weeks") == 0, "in " + format(add(dateBetween(prop("Date"), now(), "days"), 1)) + " day(s)", "in " + format(add(dateBetween(prop("Date"), now(), "weeks"), 1)) + " week(s)"), if(formatDate(prop("Date"), "MMM DD, YYYY") == formatDate(now(), "MMM DD, YYYY"), "? Class today!", "✔️ Class done"))Deconstruct the code
So this seems complicated, but lets go through it together. So the first if-statement asks if the time to the class (see the field “Date”) is in the future:
prop("Date") > now()If so, the next if-statement asks if the time to the class is actually lower than one week, so equal zero:
if(dateBetween(prop("Date"), now(), "weeks") == 0In that case, the formula returns the amount of days and adds 1, because Notion counts that way. If the statement is not true, so the time to the class is higher than one week, then the formula returns the amount of weeks (plus 1). So now back to the very first if-statement. If this (is the class in the future?) is not true, the formula asks if the date of the class is actually today:
if(formatDate(prop("Date"), "MMM DD, YYYY") == formatDate(now(), "MMM DD, YYYY")If so, the formula returns “? Class today!” and if not, the formula returns “✔️ Class is done”. Simple as that.
Conclusion
So as you can imagine, the part with the formula is not really necessary, but I think this helps a lot to get familiar with Notions formulas as well as some basic coding. Plus, it is fun! I will actually test this template for the first time this semester and probably will have some corrections and further ideas after that. Maybe I will do a sequel to this tutorial and how to improve this class template further. If you are interested, let me know in the comments down below.
As you can see, to organise your classes with Notion is not that hard. If you want to take a look at the website described above, you can see a copy of it here (with some links removed).